Smaplux - Online Accounting Software
Payment Accounting
Payment Accounting
Enabling & using Payment account or bank account.
Payment accounts are like for example bank account. You can transfer money from one payment account to another, deposit cash in payment account, pay to a supplier, or deposit the amount received from a customer here.
Enabling Payment account:
- Go to Settings ->Business Settings -> Modules
- Enable payment ‘Account’ option
- Save it.
- After saving you will see the “Payment accounts” option will be visible in the left navigation bar.
Payment account type & sub-type:
- Go to Payment accounts -> List accounts -> Account Types
- Account type: to add an account type click on Add button and enter the name of the account type and submit. Keep the Parent account type unselected.
- Sub-Account type: To add a sub-account type click on Add button, enter the name of the sub-account type and select the Parent-account-type.
- When creating an account you can select the account type as per your need.
Creating Payment accounts:
- To create a payment account, Go to Payment Accounts -> List Accounts, click on Add button
- Fill in all the details like name, account number, Account type, opening balance, Account details & notes.
- Account Details: Here you can add any additional account details, like for example UPI ID, SWIFT code, BIN number, etc which vary depending on the accounts.
Transferring funds between Payment accounts:
You can transfer funds between the payment accounts.
In the Payment Accounts -> List Accounts, click on fund transfer.
![]()
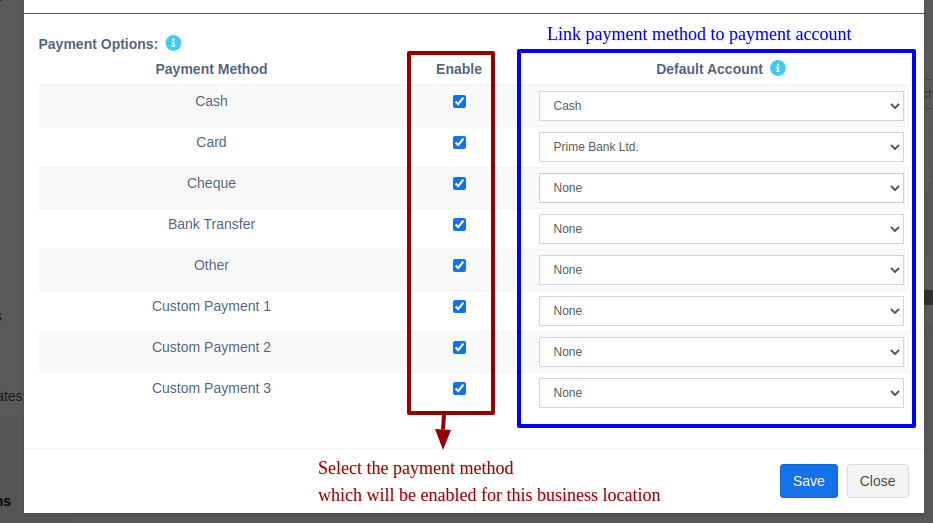
Setting default payment accounts for payment methods
In Add/Edit business location you can select the default payment account for each payment method.
If the payment account is linked then when adding a payment for sales/purchase/expense, on selecting the payment method the payment account will be automatically selected.
Adding & Editing Payment Method or Pay Via options (Custom payments)
Payment Methods:
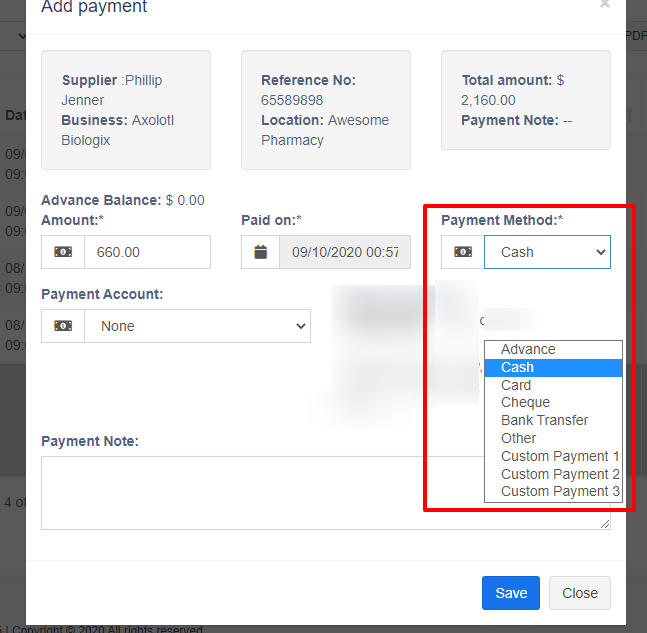
In the above screen, you can see “Pay method” or “Pay Via” options, the same option appears in POS “Multiple Pay” popup. With Smartbook ERP you can add or edit existing payment options.
Enabling/Disabling Payment Methods in a business location:

- In Add/Edit business location you will find a list of all payment methods, you can enable/disable it by checking/unchecking the option.
- Set default account for payment methods: https://ultimatefosters.com/docs/Smartbook ERP/payment-accounts/setting-default-payment-accounts-for-payment-methods/
Editing custom payments labels:
- By default, the custom payment labels display as “Custom Payment 1” and similar.
- Go to Settings -> Business Settings -> Custom Label -> Labels for custom payments:
- Change ‘Custom Payment 1’ or the others to something you need.
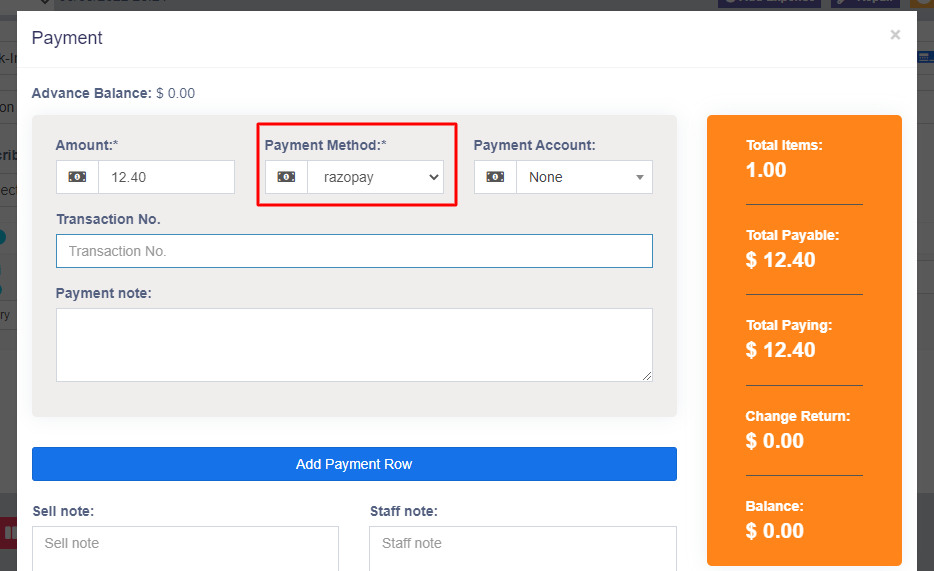
- For example, if we want the labels of custom payment 1 to display as “RazorPay” then it will be like this:
‘custom_payment_1’ => ‘RazorPay’,
- For example, if we want the labels of custom payment 1 to display as “RazorPay” then it will be like this:
Using custom payments in POS:
- While making a sale, in POS screen click on the multiple pay button.
- Select the required custom payment method for the payment method field.